
Whistle While Your Kids Work
Tired of asking your kids to take out the garbage or do the dishes and getting no response? Well, instead of having to ask all the time, start a chore chart- a chart that has the children’s names at the top running horizontally and the chores listed vertically. Chores might include taking out the garbage, doing the dishes, cleaning their room, yard work or putting laundry in the laundry room. Each chore has to be done just once a week. Anything more is unrealistic. After the children complete each chore, they can put a check mark on the chore chart.
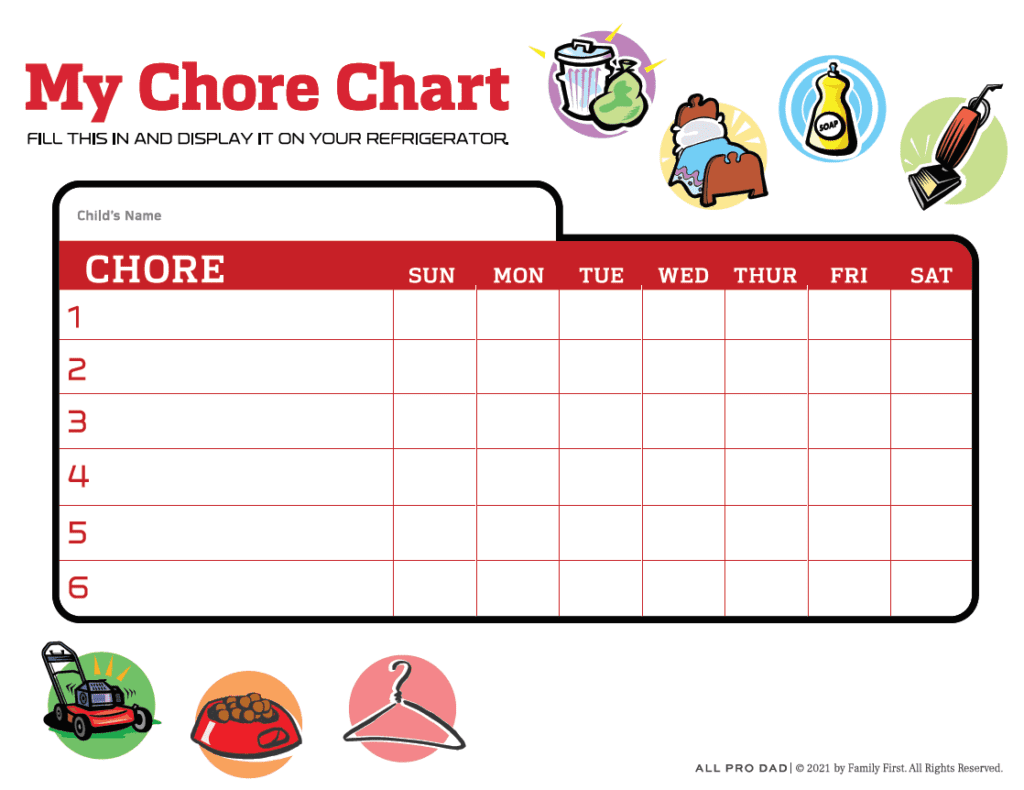
Just fill in the names of your children and their weekly chores (examples include yard work, doing dishes, cleaning their room, taking out the garbage or doing laundry). Once you have filled out the chart, just print it and hang it up on the family bulletin board or refrigerator.
Instant Insight on Making Your Chore Chart Work
Now that you’ve got your chore chart designed and printed, here are a few tips to get things started.
Yard Work
- One day of yard work each week is plenty. A good day to do yard work is Saturday. Start early in the morning during summer months when it’s not so hot.
- Instead of a specific amount of time to work, give them a project or area that needs to be completed. Try to limit yard work to one hour; ½ hour for younger children.
- Work with your children so they’ll learn to do the tasks properly and safely.
- Be careful not to let young children operate machinery or sharp equipment.
- Give them tasks that they can easily accomplish, such as raking leaves or weeding.
- Teach them life lessons as they work. For example, when you are weeding, ask them “What happens when we don’t pull the weeds out of the flowers?” (It will choke out the good stuff and the flowers will die.) “Well, the same thing goes for us when we don’t keep our lives clear of bad things, like saying mean things, smoking or drinking¾ then we can really get hurt.”
- Whistle while you work!
Helping with Dinner & Washing Dishes
- This chore should be limited to one or two times a week (depending on how many children you have to rotate).
- Most kids can start washing dishes around age 4 or 5 (but don’t include your fine china in this!).
- This task includes setting the table, clearing the table, putting leftovers in the refrigerator, rinsing dishes and putting them in the dishwasher, and wiping off the kitchen counter and table.
- Dad and Mom may want to pitch in if there are a lot of dishes to do.
Taking Out Garbage
- This chore should be limited to one or two times a week (depending on how many children you have to rotate).
- Most children can do this on their own by the time they are five years old.
Cleaning Room
- This should only take place once a week (Realistically, it’s probably not going to happen more than that!).
- Even toddlers can learn to put things away.
- Cleaning their room does not mean shoving stuff under the bed or into the closet. It means that the bed is made neatly; clothes are hung up in the closet and dirty clothes are put in the basket; and sports equipment, games, dolls and books should be off the floor and put away.
Laundry
- Laundry should happen once a week. Saturday is usually a good day for this when the kids are not in school.
- At around age 4 or 5, children can start putting dirty clothes in the basket, taking them to laundry room, sorting by colors and then putting clothes back in their drawer or closet.
So what’s the incentive?
Allowance. If the children complete all their chores for the week, they get their allowance on Saturday. If they don’t finish their work, no allowance.
You may want to begin by giving 50 cents for each year of age. For example, a 10-year-old would receive $5 a week. Allowance should only be given based on these specific chores that are assigned to your child¾it’s not just a handout, it’s earned.
But don’t stop there…
Help your child to understand the importance of what we do with our money as well. Teaching children how to use money wisely can be difficult. It helps to use a very visual, hands-on method. Here’s how it works:
Each child receives three mason jars. When they get their allowance, they divide up the money between the jars. One jar is for spending, one is for church and the final jar is for savings. They put half of their allowance in savings, at least 10 percent for church and the rest for spending. We want our kids to know that money is not just for buying things for ourselves, but should also be used to help others. So give it a try. Help your children learn the fun of spending, the reward of saving and the joy of giving.
Allowance Jar Tips
- To make dividing the allowances into jars easier, mom and dad should keep some quarters and one dollar bills around.
- When giving your children their allowances, show them their completed chart to reinforce their job well done.
- To help with both counting skills and responsibility, let your children divide their allowances between the jars themselves.
- Consider keeping little “banking” sheets in the jars to keep track of deposits. This will help the children see how their money is being saved and will teach them basic financial management skills.